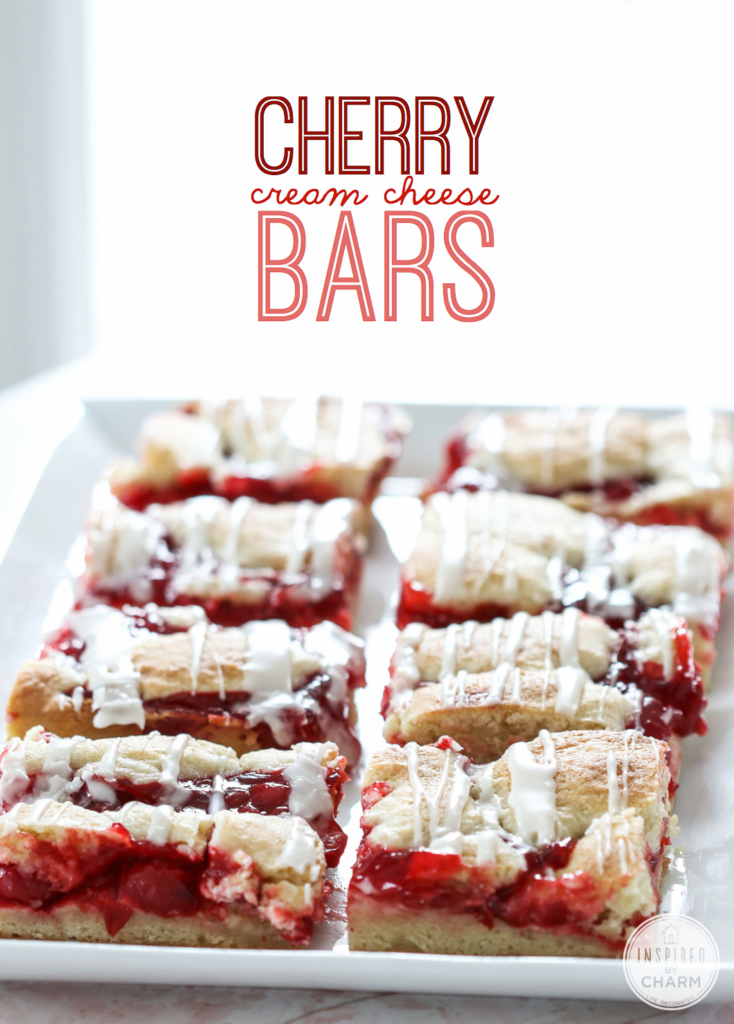
Cherry Cream Cheese Bars
This Post May Contain Affiliate Links. Please Read Our Disclosure PolicyThese Cherry Cream Cheese Bars are the perfect dessert for any occasion or celebration. With three different layers of deliciousness, everyone is going to love these tasty bars.
Cherry Cream Cheese Bars:
I’m a big fan of dessert bar recipes like these Cherry Cream Cheese Bars. Why?
Well, typically recipes like these are really simple to make and tend to feed crowd. That’s certainly the case with this recipe as well!

How to make Cherry Cream Cheese Bars:
What makes these bars particularly tasty is it’s layers. It starts off with a layer of cake (which is so simple to make) and then followed by a cream cheese layer.
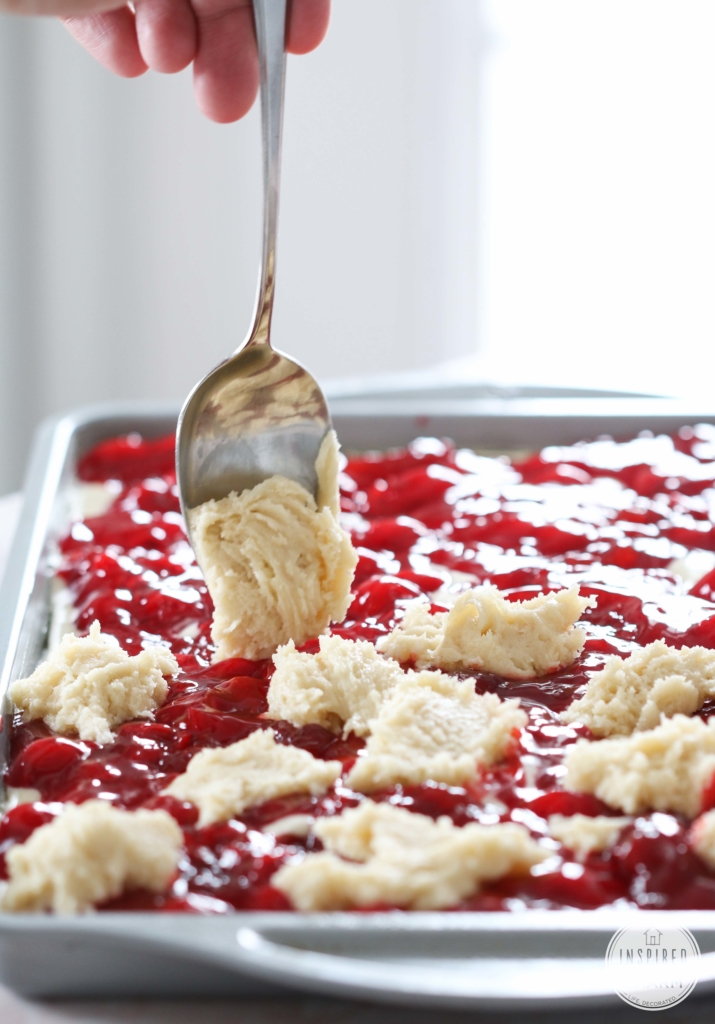
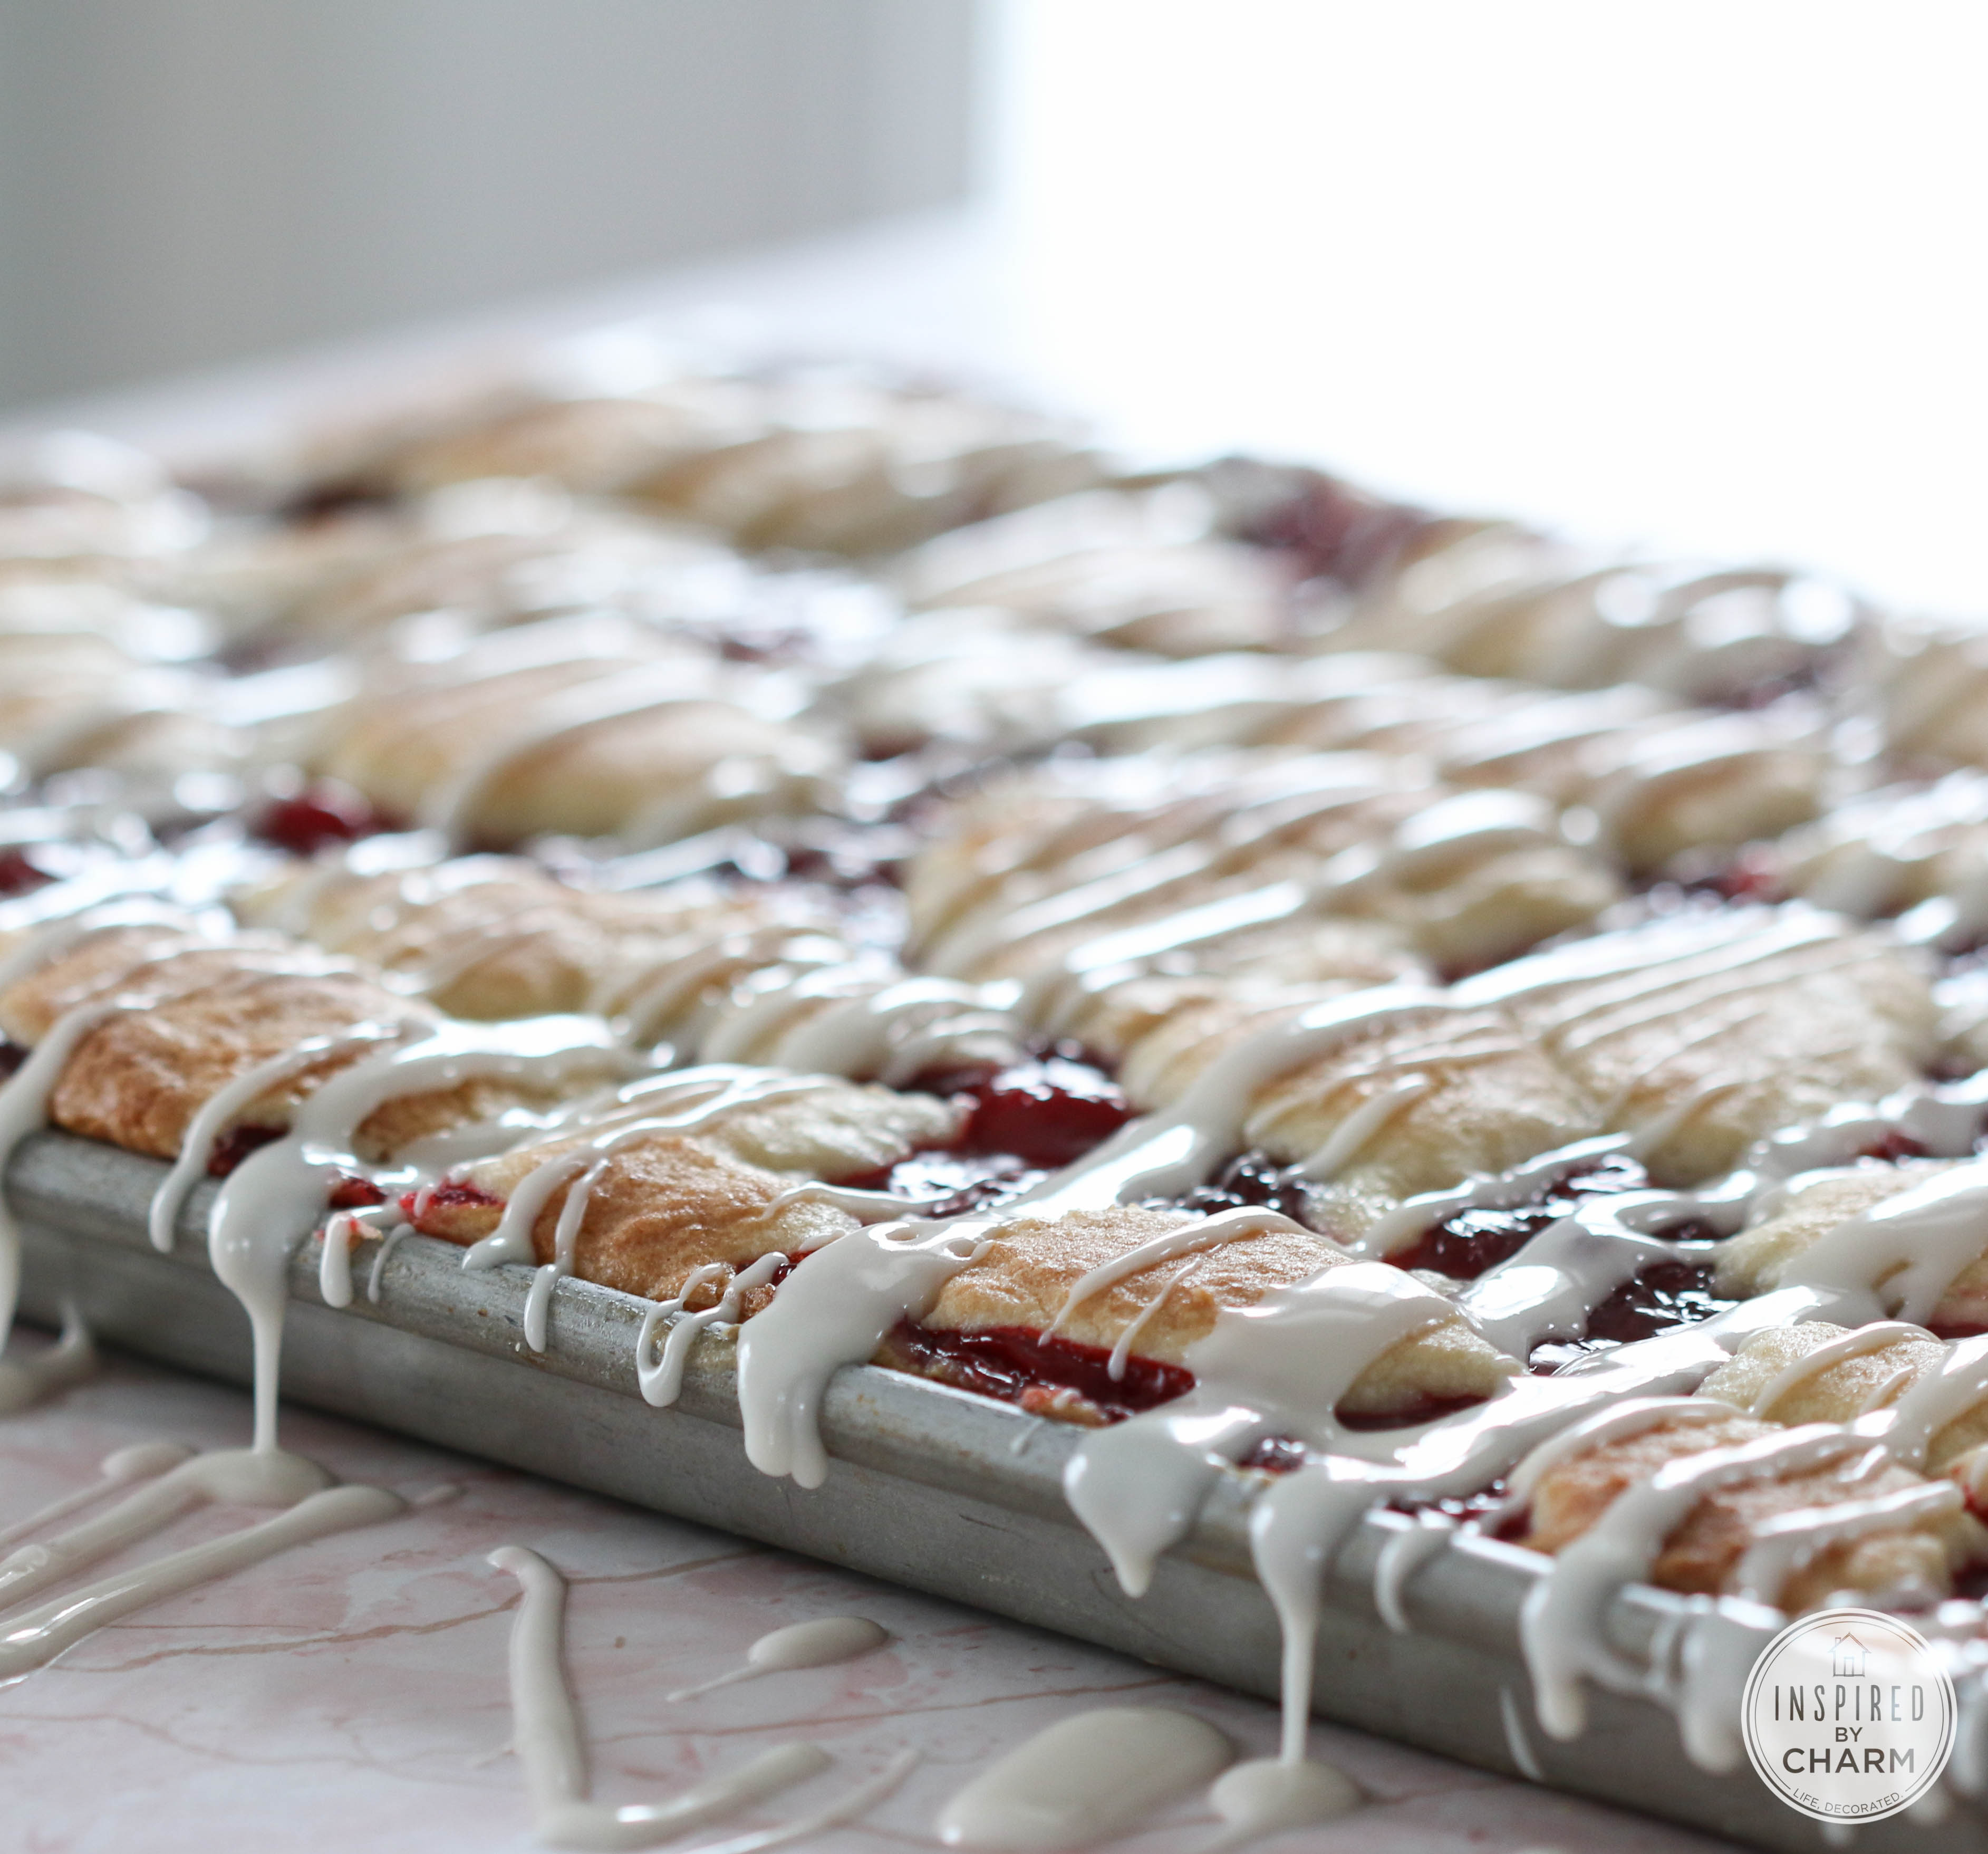
After that, sweet cherry pie filling gets layered on, followed by big dollops of cake. Yum!
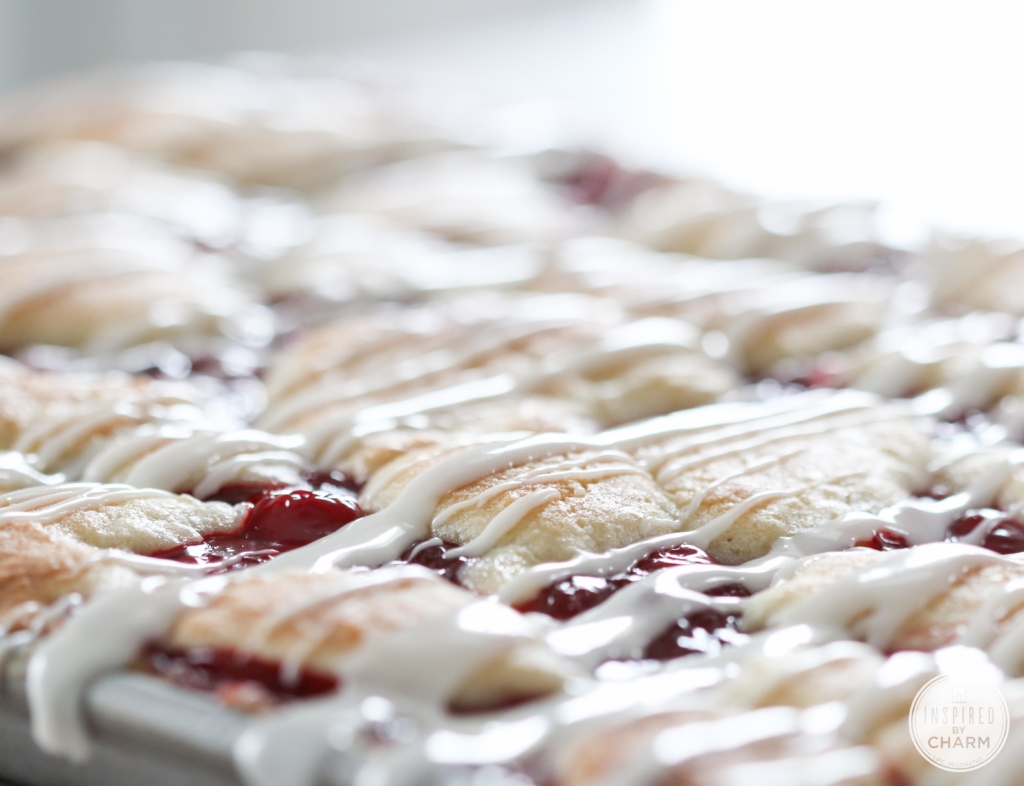
Once the whole thing is cooled, these Cherry Cream Cheese Bars get a drizzle of confectioners’ sugar glaze for a finished sweet touch. Perfection!
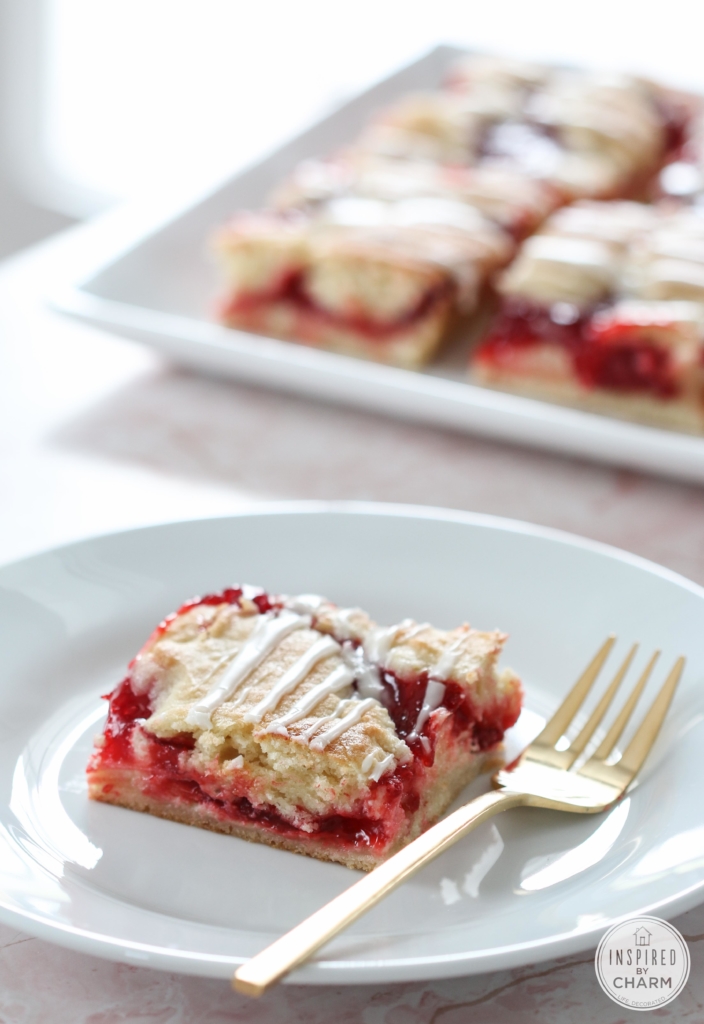
The resulting bars are amazingly delicious. They would be amazing without the layer of cream cheese, but it just takes them to a whole other level of awesomeness.
Let me show you how to make them.
💌 SAVE THIS POST / RECIPE!
How to Make Cherry Cream Cheese Bars:
Begin by preheating your oven to 350 degrees F.
With a stand mixer, cream together the butter, sugar, and salt until light and fluffy. Add the eggs one at time. Beat well after each addition. Then, put in the vanilla and almond extract. Finally, gradually add in the flour and baking powder. For your convenience, there is a full ingredient list and detailed instructions in the printable recipe card below.
Spread about 2 1/2 cups of this batter into a greased 15x10x1-inch baking sheet. (I found it easiest to use an offset spatula greased with a little cooking oil to spread out the batter.)
In a medium-size bowl, beat together cream cheese, sugar, and egg. Add this on top of the first layer of batter. Then, spread out the cherry pie filling.
Drop the remaining batter by spoonfuls over the filling. Bake about 35-40 minutes or until golden brown. Cool in pan on a wire rack.
Once the bars are cool, in a small bowl mix together confectioners’ sugar, extracts, and enough milk to reach a drizzling consistency. Drizzle over the top.
Want More Easy and Tasty Bar Recipes? Try these:
- Peanut Butter and Jelly Cheesecake Bars
- Pumpkin Cookie Bars with Maple Frosting
- Emily’s Cheerio Treat Bars
- Pumpkin Bars
- Ombré Frosted Sugar Cookie Bars

It’s that easy. Mouth-wateringly fruity, creamy, and covered in a delicious glaze. It really doesn’t get much better than that.
Seriously people, please give this recipe a try. You’ll be so glad you did!
Cherry Cream Cheese Bars Recipe:
Cherry Cream Cheese Bars
Ingredients
- 1 cup butter softened
- 2 cups sugar
- 1 teaspoon kosher salt
- 4 eggs
- 1 teaspoon vanilla extract
- 1/2 teaspoon almond extract
- 3 cups all-purpose flour
- 1 teaspoon baking powder
- 2 cans (21 ounce each) cherry pie filling
Cheesecake Layer:
- 1 package (8 ounces) cream cheese softened
- 1/4 cup sugar
- 1 egg
Glaze:
- 1 cup confectioners' sugar
- 1/2 teaspoon vanilla extract
- 1/2 teaspoon almond extract
- 2 - 3 tablespoons milk
Instructions
- Begin by preheating your oven to 350 degrees F.
- With a stand mixer, cream together the butter, sugar, and salt until light and fluffy. Add the eggs one at time. Beat well after each addition. Then, put in the vanilla and almond extract. Finally, gradually add in the flour and baking powder.
- Spread about 2 1/2 cups of this batter into a greased 15x10x1-inch baking sheet. (I found it easiest to use an offset spatula greased with a little cooking oil to spread out the batter.)
- In a medium-size bowl, beat together cream cheese, sugar, and egg. Add this on top of the first layer of batter. Then, spread out the cherry pie filling.
- Drop the remaining batter by spoonfuls over the filling. Bake about 35-40 minutes or until golden brown. Cool in pan on a wire rack.
- Once the bars are cool, in a small bowl mix together confectioners' sugar, extracts, and enough milk to reach a drizzling consistency. Drizzle over the top.
I made these yesterday and they are AMAZING!!! The recipe is not difficult and the end result is so impressive. I will be making these again many more times. Cherry anything is a family favorite.
So glad you hear that! Thank you Julie!
xo Michael
Wow, thanks for the nice review.
I forgot to mention I ended up making the pie filling with real cherries instead of the canned stuff. It’s a little more work but soooooo good!
I made these on a whim and they are great! Thanks for the recipe!
I’ve made these Bars several times, be sure not to underbake. I am freezing the leftovers from a picnic yesterday. Love your site Michael. thanks for putting the Pretty in DULISH!
these look delicious. If I make them the day before, do you need to refrigerate them?
I have made these a few times now and they are always a hit. They are going on my Christmas cookie platters this year and I don’t expect any leftovers. Thanks for a great recipe. Merry Christmas!
So I found this recipe on Pinterest a while back, and I have made this the past 4 years at every potluck for my husband’s work. It is always a hit and he brings home an empty pan each time. Just wanted to say thanks! 🙂
I love hearing this!! Thank you so much!! I’m so glad everyone loves it!
xo Michael
Colorful, easy and delicious! A hit at a family Christmas/birthday party. Love the almond flavor. They’re on the gooey side but in a good way. Had to bake a bit longer than recipe states. Will for sure make again!
Looks so good. But what can I use in place of almond extract. Have someone with nut allergies.. Thank you
Do these freeze well?
I’m not sure. I didn’t freeze mine. However, from what I know, I don’t believe cream cheese freezes well, so I wouldn’t recommend it.
xo Michael
Cream cheese freezes very well. Someone commented that it doesn’t. It does.
Cream cheese CAN be frozen but I find it changes the texture of it. I personally avoid freezing things with cream cheese.
xo Michael
Oh my, these look so yummy!! I will definitely be making!!
Looks great! Thanks!
I found your recipe on Pinterest. After reading all the good reviews, I decided to make 3 pans for a breakfast I helped serve this morning. We served about 80 people. Everyone that wanted one got it, but there wasn’t any left to bring home. I will be making these again! Thanks for the yummy recipe.
These look amazing. Any chance you have tried making these with GF flour? Could the recipe be halved? I’m going to try making them GF, thanks for the recipe I’ll let you know how it goes!
Oh my deliciousness! Came here to look at birthday cakes but this has got to take the cake! Headed to the store cherry pie filling.
What delicious looking dessert! What modifications are necessary to bake in a 9×13 in pan?
Thanks,
Pat
I’m not sure, I never made it that way.
xo Michael
Hi! Is it the first batter that is the base that you dollop on top at the end or the cream cheese batter? Thanks!
I am going to cut the recipe in half an bake in a 8 x 8 pan. Crossing my fingers. So looking forward to eating this.
Looks delicious.
do the second need to be refrigerated at all? Seems like it would make them soggy!
What is the serving size of this recipe?
It depends on how you cut then, but I’d say about 20.
xo Michael