DIY Button Thumb Tacks
This Post May Contain Affiliate Links. Please Read Our Disclosure PolicyA few months ago I made a pretty cool DIY bulletin board. Other than staging it to take some pictures for the blog, however, I really haven’t used it much. As I shared on Monday, I’m starting some new habits. And as cheesy as it may sound, one of them is starting a vision board. (This post is not about starting a vision board, but once I actually do that, I’ll share another post here telling you how I went about it.)
But, before I can create a proper vision board, I needed some really cute thumb tacks. I know I’m not the first person to glue a button to a thumb tack, but good ideas need to be documented, right?
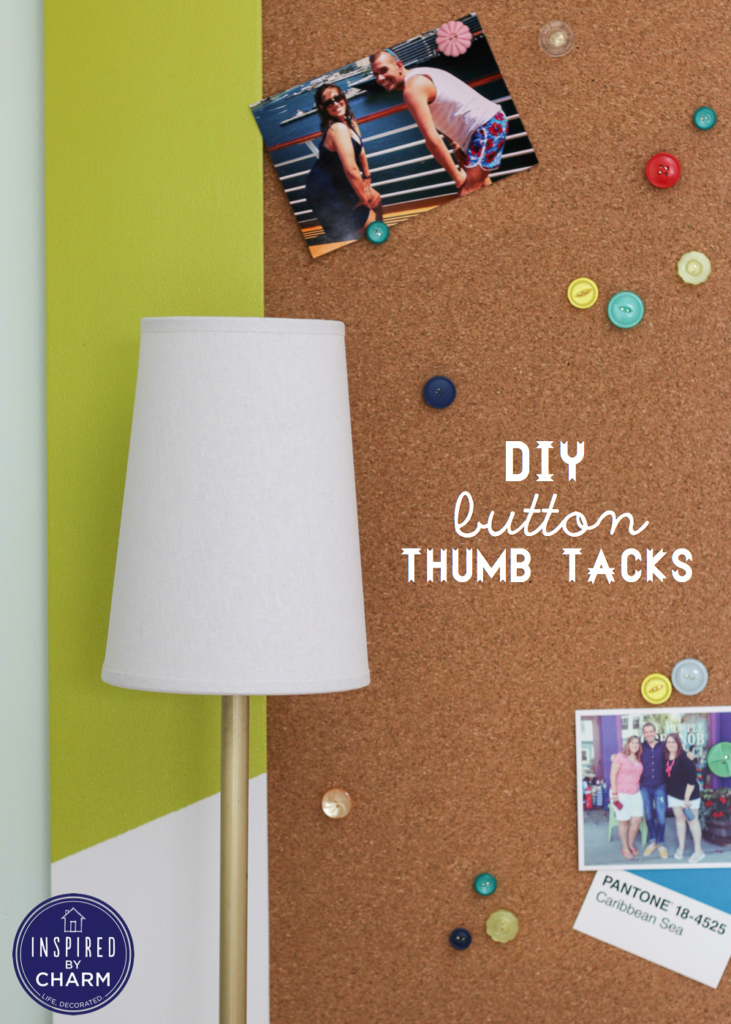
So today I thought I’d share this quick, fun, and colorful tutorial for DIY Button Thumb Tacks.
DIY Button Thumb Tacks
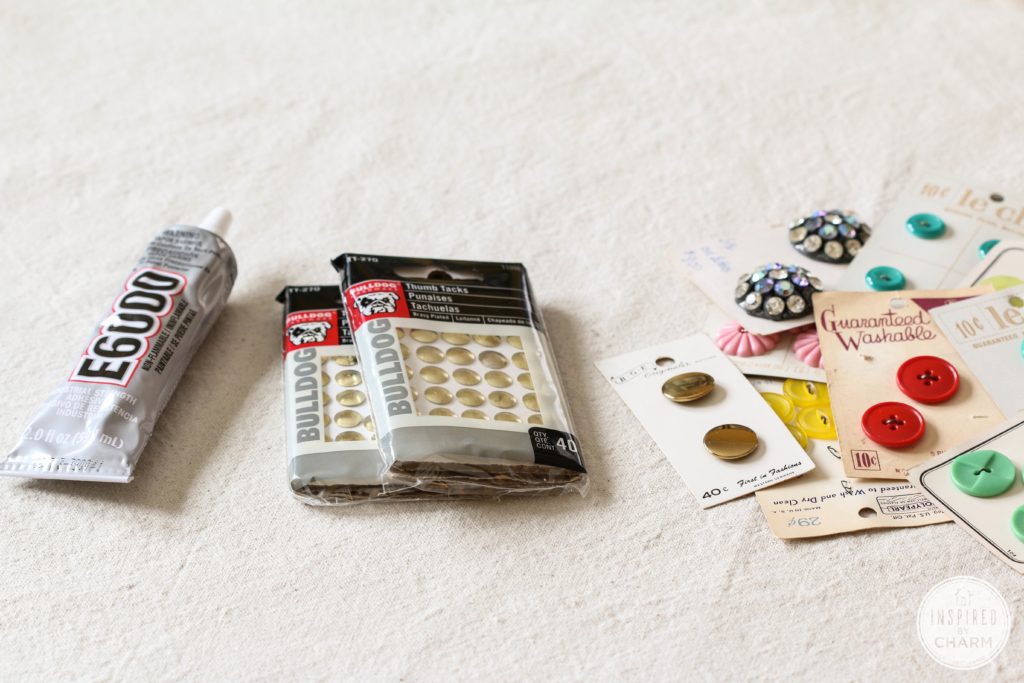
You will need:
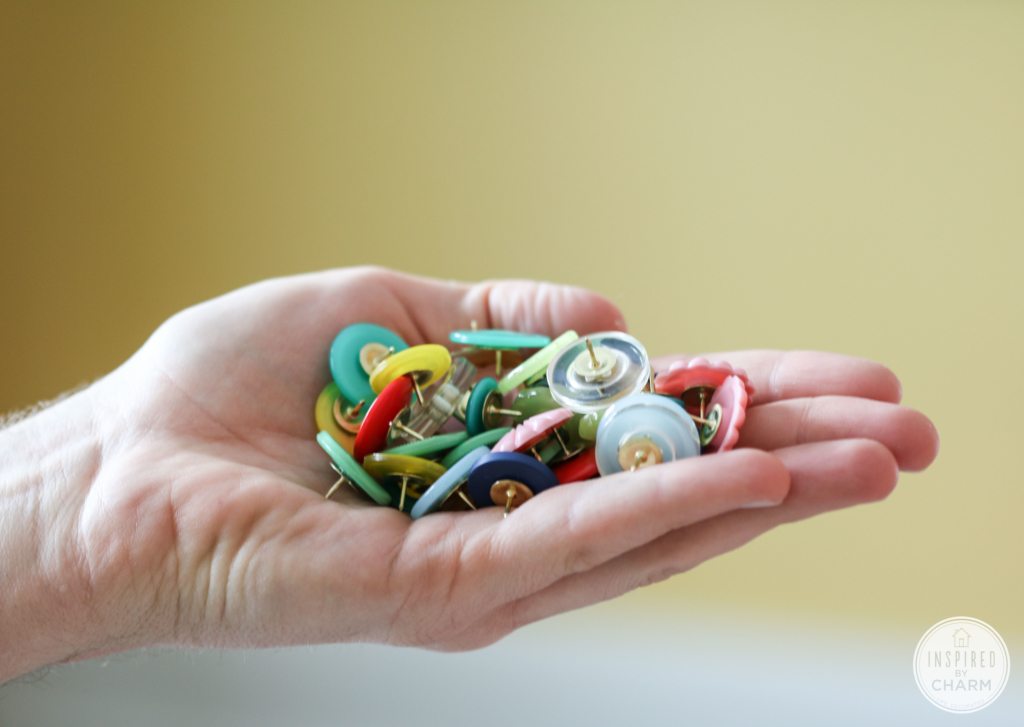
Buttons (I found a pack of vintage ones at Goodwill)
E6000 glue
Thumb tacks (These are from the hardware department at Walmart.)
Now, I’m warning you. Things are about to get complicated. (Totally kidding, this couldn’t get any easier.)
Set all of your buttons face down on a flat surface.
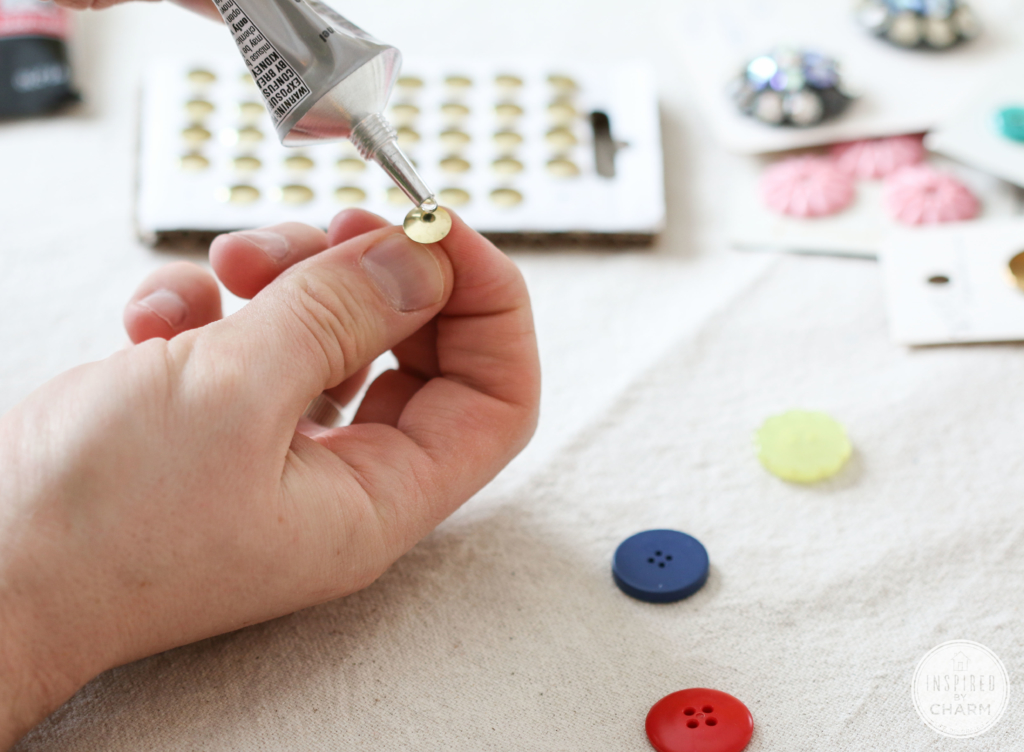
Add a little glue to your thumb tack.
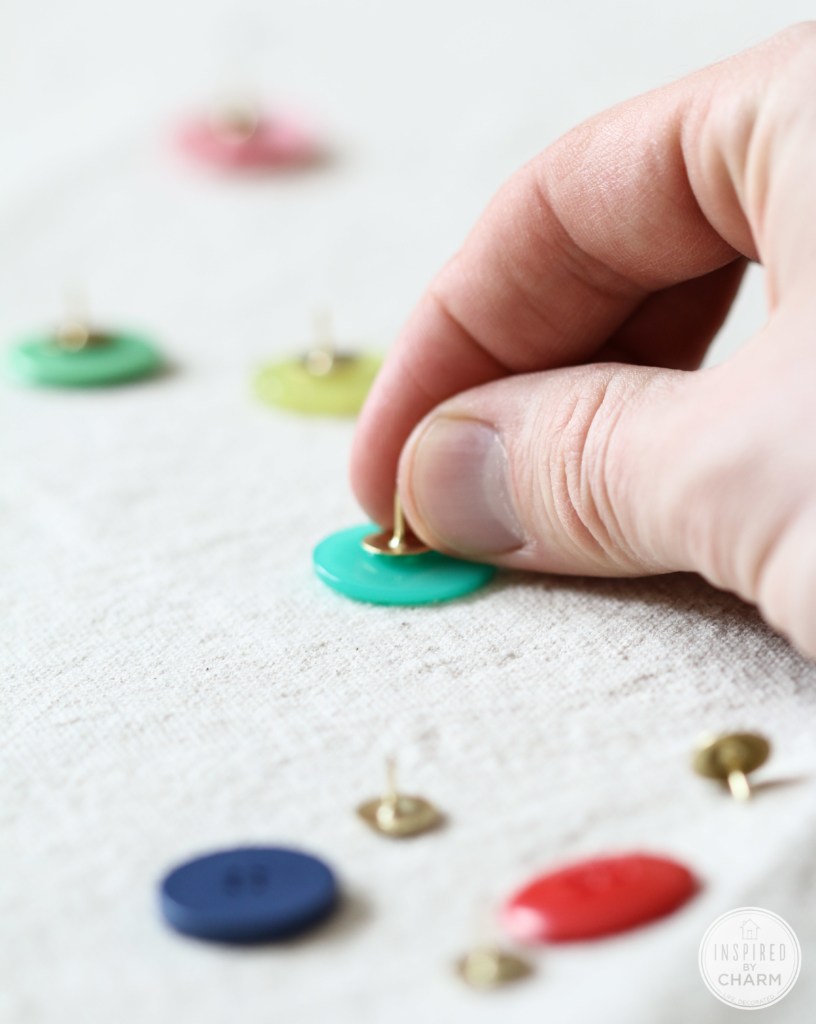
Then place it on the back of your button and allow it to dry for a few hours.
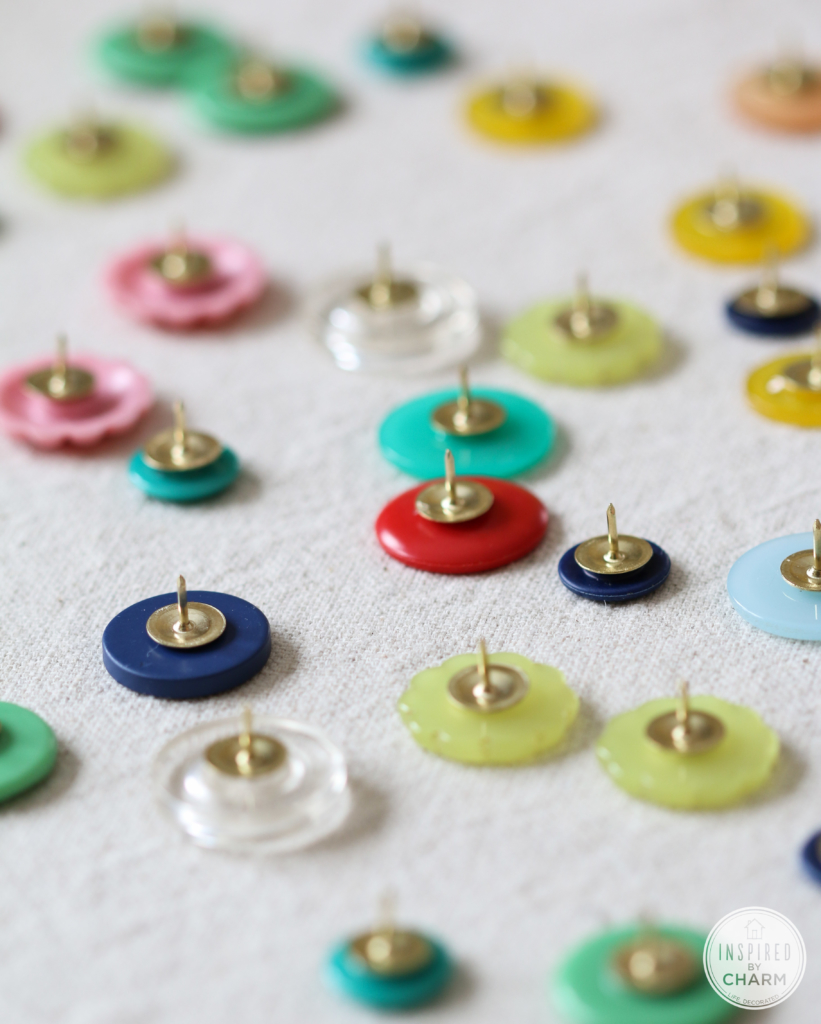
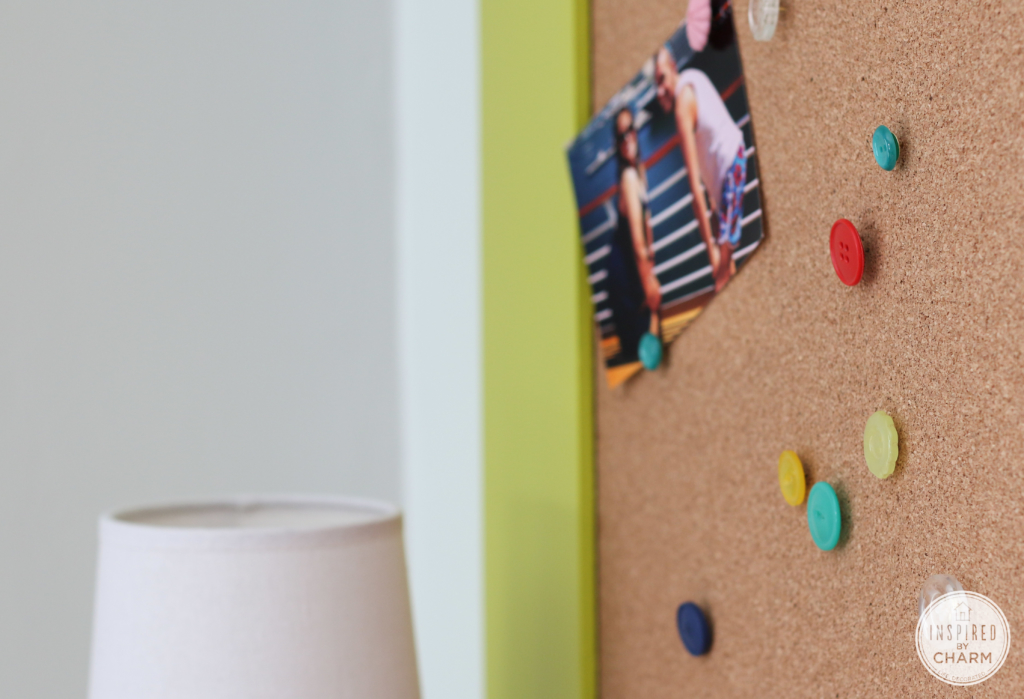
Ta-da! Adorable DIY Button Thumb Tacks. I told you this was going to be easy.
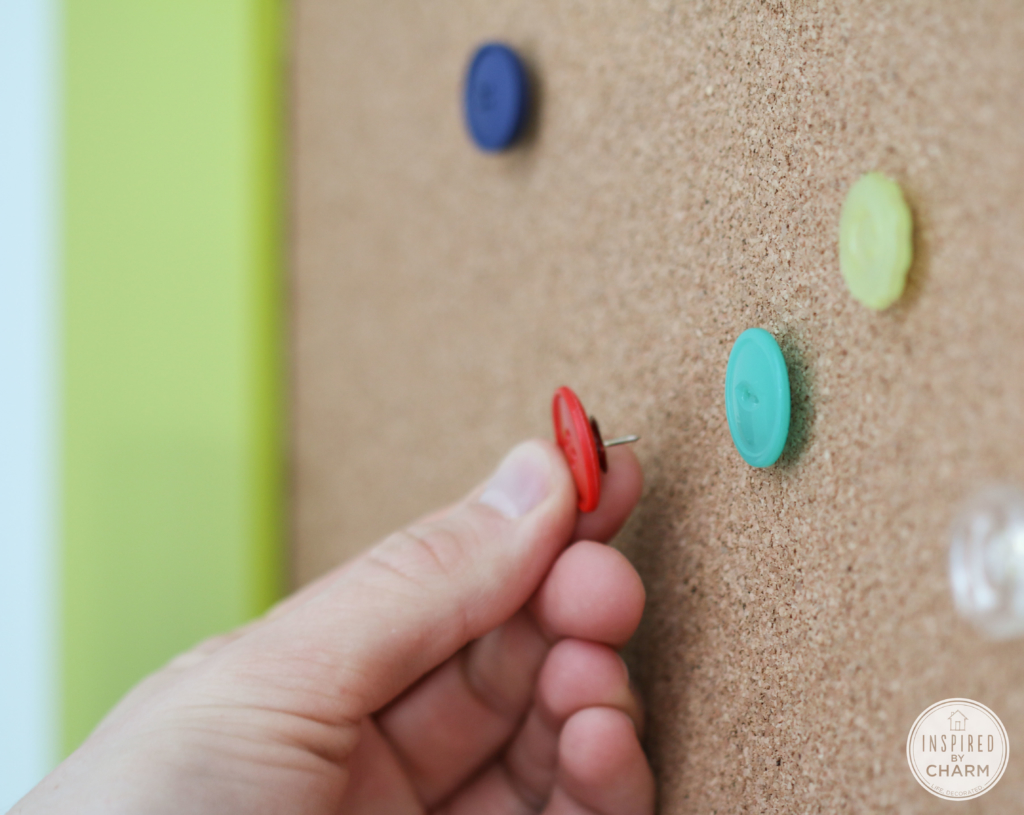
In a matter of minutes, I had dozens made and now I’m ready to attack my vision board with vengeance. Because that’s the only proper way to attack a vision board, right?
Hope you all are having a fabulous Thursday!
I’m thinking about trying out a few shorter posts like this on IBC every now and again. More meat, fewer words and pictures. Actual content aside, what do you think? Do you like the longer posts or prefer something short and to the point? If you could take a quick moment in the comments and let me know what you like best, it would be immensely appreciated!

How do these hold up? I’m worried the button might break off from the pin, but I’ve never used the glue you mentioned. Have any ever broken when you took them off the board?
I love the button thumb tacks…..how cute they look!!! ? Thanks for the neat idea…..
I like short and to the point!!
First time here! I like how you provided the steps for even this “simple” project.
I don’t want to guess, or wonder if it could be easier etc. i LOVE the pictures to go with the steps. I’m retired and love DIY but don’t have any skills or background but I’m learning so much!!! Can’t compare this to your other posts but I like the personal connections (vision board) and hints about your style and personality. I am exactly the same about starting a big idea — I need the name, the “hook” the presentation all in my mind before I can get started. I could never start a vision board without the pins!!!! Thanks and where do I find out about the vision board??
Love it! The concise presentation is perfect for this busy mom of four! Thank you.
Hey Michael! I recently found your blog and I’m in love! Your style inspires me so much. I’m 16 (I bet you don’t get too many teen girls dropping by your blog 😉 I’m just starting to dip my toes into this whole designing world and I absolutely love it.
And to give you feedback, I like your long and short posts, but I prefer short ones because I can read them quickly (or just scroll through the pictures).
I made a vision board years ago and had amazing results. I also have a cache of vintage buttons which will be perfect for use as thumbtacks. Thank you for such a great and simple idea. Also, long or short…just keep posting your great posts.
I love those! I’ve made something similar with the taller, push pin tacks., by gluing round, blingy crafting rhinestones onto them. I also love all your posts. Long or short. 🙂
Hi Michael, I like a mix of short and long posts, and I never think you include too many pictures!! Also, I have never seen this idea before, so I’m glad you posted it!! 🙂